We are often asked how to stream the display of a mobile device to another computer, or how to make a recording of their mobile or tablet’s screen.
We have already discussed doing this with Apple Devices http://blog.soton.ac.uk/mle/2013/08/27/ipads-in-theatres/ which will require either an Apple TV, Apple Mac, or a combination of expensive cables to achieve screen sharing and screen recording.
Today Graham and Louis are presenting “MLE Goes Mobile” at the iSolutions departmental meeting and to celebrate I’m going to write this post about my own experiences with screen sharing and screen recording with Android. I was particularly inspired to do this when Louis stated that the combination of cables and software used to create the iPad screen recordings came to about £1000.
Fortunately with Android you only need to spend under £10 to achieve both screen sharing and screen recording. However both of these solutions require root access to your phone or tablet. Rooting an android device has never been easier thanks to the easy to follow step by step guides available on http://forum.xda-developers.com/ The benefits of rooting are very significant as it changes your device from essentially a toy to a small portable computer and is definitely worth doing for anyone who has an enthusiasm for the educational potential of mobile devices. One of the immediate advantages of rooting is that you can easily block adverts, spyware, tracking beacons and other such nefarious techniques that slow down your device.
Screen Sharing
In this context I’m using the term “Screen Sharing” to describe sending what you are doing on your device to a computer connected to a large tv or projecter such as in a training room or lecture theatre.
The best application I have found to achieve this is BBQ Screen http://screen.bbqdroid.org/ this software costs £1.26 and includes a computer application for Windows, Mac, and Linux computers, and an app that runs on your phone or tablet.
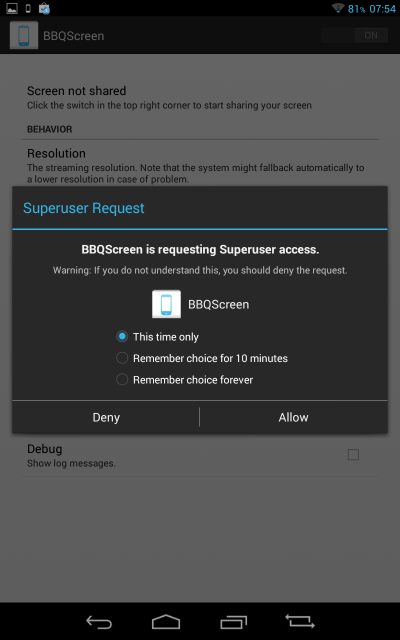
The first time you open the app it will ask you for root access.
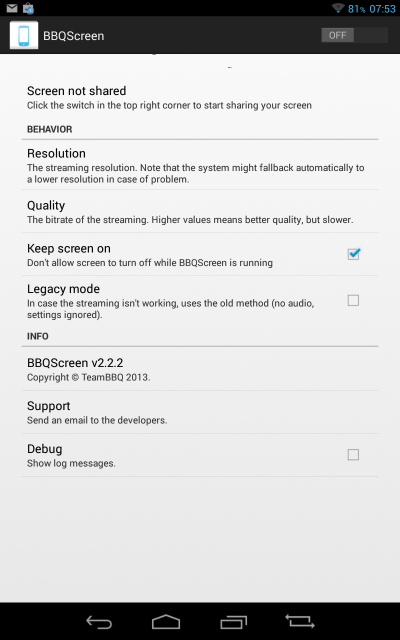
Then, when you open the application on your device you will be given a number of options to choose and can then enable screen sharing by sliding the OFF switch to ON.
Then run the PC application and type in the IP address that the application tells you to, and then you are connected! Whatever you do on your device will appear on the computer display. Here is a very quick YouTube video to show it in action.
Screen Recording
If you have an application or material on your device that you wish to demonstrate to other users then making a screen recording or screencast is often the most effective method.
The best screen recording application I have come across is SCR Screen Recorder Pro which costs £3.68.
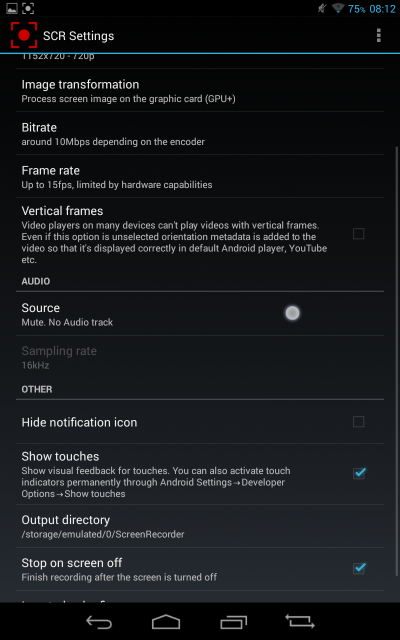
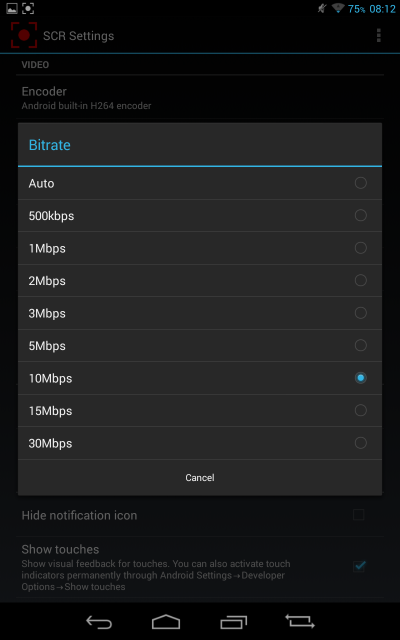
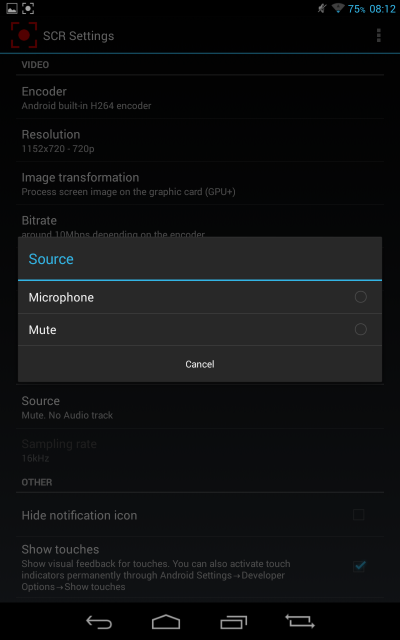
Once the application is installed you have a number of options, including the ability to adjust the resolution, bit-rate, and other quality settings, and also to record your own voice via your device’s microphone so that you can easily create narrated demonstrations.
Making a recording is quick and easy. Here’s a very quick demo.
Conclusion
Screen sharing and screen recording need not be expensive nor complex. For under £10 and with about 20 minutes of effort you can be presenting via mobile device and creating demo videos like a pro!

December 19, 2013 @ 9:43 am
Just in case anyone is wondering… iSolutions did not pay £1000 just for this process. The Epiphan VGA2USB device http://www.epiphan.com/products/frame-grabbers/vga2usb/ was bought for a teaching space project, which we borrowed for the capture.
The process was
Apple Lightning to VGA Cable -> Epiphan VGA2USB -> Epiphan Capture tool -> Sorenson Squeeze
This gave us a HD copy of the screen in a WMV format suitable for PowerPoint.
December 19, 2013 @ 11:33 am
For projection I use HDMi / VGA hardwired and for screen recording you can use Reflector – http://www.airsquirrels.com/reflector/ for iOS devices.
January 4, 2014 @ 9:36 pm
Why not
http://www.airserver.com/Compare
And standard screen record ing software on the pc or mac.
Less than £10
Alternatively present with
http://www.morriscooke.com/
Explain everything or even final argument and it will record on the iPad.
I will be trying this method next semester.
I have iPad and android.
Why android has the some alternative options and is more open, the hardware Asus prime in my case is rubbish.
Tom
January 6, 2014 @ 9:47 am
Hi Tom,
Although we would love to use airserver, the AirPlay network does not work nicely over Eduroam in the same way that it does in a home environment.
We wrote up on this topic here if you’d like some more information: http://blog.soton.ac.uk/mle/2013/08/27/ipads-in-theatres/
Graham
January 24, 2014 @ 8:36 pm
RE Network boundaries:
Back in 2012 at Fareham College I deployed avahi running on Ubuntu to re-broadcast the mDNS packets on one VLAN to another to allow cross VLAN discovery of AirPrint and airplay.
Other options to facilitate this include wifi appliances eg, the aerohive bonjour gateway allowing much greater control over the packets rebroadcast.
RE preventing unwanted airplay screens popping up:
During the same period I deployed Reflector (on which Airserver is based) to all classrooms with a custom launcher that generates, and displays on screen, a per session airplay password. Ie, a random 4 digit password is created at launch that the lecturer inputs at the beginning of a lecture/class. The next lecturer receives a different password when they launch the application. Sorted, no nasties/ interruptions.
iPad broadcasting and screen recording on the cheap. Also enables 10 classroom iPads to be shown at once, it really has revolutionised the ol’ chalk and talk.
mde
January 27, 2014 @ 9:14 am
Very interesting Mark, thanks for your comment, and thanks for dropping by our blog. We will take a look at the technologies you have listed.